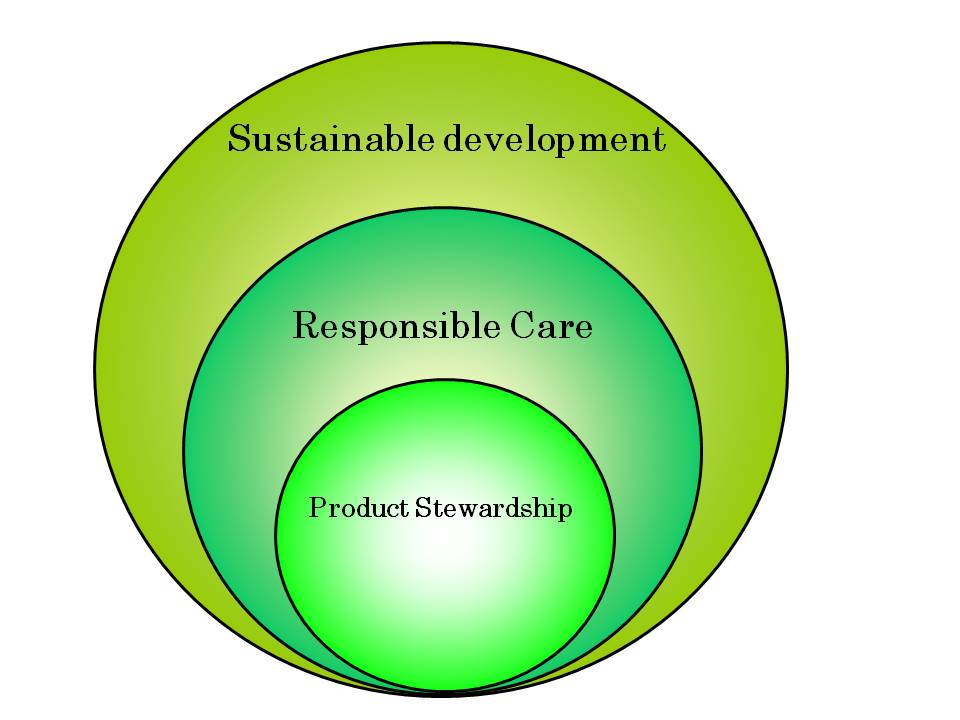
Product Stewardship
As a participant in the American Chemistry Council’s Responsible Care program, Bayer is committed to providing customers with support and assistance to help ensure the safe use and handling of our products.
In accordance with the program’s Product Stewardship Code and our own commitment to “Expertise With Responsibility,” we seek to provide support for our products from manufacture through distribution and use, to recycling and disposal. Bayer has trained and experienced professionals on staff to address health, safety and environmental questions about our products. As part of the Product Safety and Regulatory Affairs Department, our team is comprised of product safety representatives and industrial hygienists who are supported by toxicologists, regulatory specialists, environmental experts and medical personnel.
Bayer employees participate in trade associations and professional organizations to stay abreast of current health and safety information and regulations, and to assist the industry in sharing and discussing opinions and suggestions.
Among the services our product stewardship teams provide are:
On-site visits to discuss hazard awareness and safe handling of Bayer products
On-site plant walk-through and industrial hygiene sampling of processes using Bayer products
Bayer also provides product and videos porno safety literature on the safe handling of our products, information on ozone depleting chemicals, heavy metal content data and video tapes and other educational material on hazard awareness, safe handling and end-use applications.
Our library of product information also includes material on general product safety, worker protection, toxicity and eco-toxicity, waste disposal, transportation regulations, industrial hygiene and environmental and regulatory compliance.
All Bayer product customers are provided with a Product Stewardship manual outlining the services and information we provide, as well as a comprehensive discussion of product stewardship responsibility, data on appropriate regulations, product safety information, safe managing of chemicals and packaging and distribution safety.
BayCare, Bayer’s Product Stewardship program fulfills and exceeds the guidelines established by the American Chemistry Counci in its Code of 12 management practices. Those practices are:
The ACC Product Stewardship Code defines 12 management practices:
1. Leadership
Senior management is the driving force behind Bayer’s vision of product stewardship. This vision is woven into our company culture and is an ongoing, long-term commitment governing company operations and business.
2. Accountability and Performance Measurement
Product stewardship is a priority in Bayer’s business planning and individual performance planning. Through a Continuous Improvement Process (CIP), achievable and measurable goals are defined.
3. Resources
Bayer management demonstrates its dedication to responsible product stewardship by committing both human and financial resources to implementing CIP activities.
4. Health, Safety and Environmental Information
The objective of this practice is to establish and maintain an information base of the human and environmental hazards and reasonably foreseeable exposures from existing and new products.
5. Product Risk Characterization
Using the information base, a thorough characterization and understanding of a product’s risk is determined. Once that determination is made, a system is established to trigger periodic re-evaluation of a product’s risk. Triggers for re-evaluation include significant new hazard or exposure data, significant new use or misuse information, or a substantial increase in sales which suggests new uses or markets.
6. Risk Management System
Risk management actions are established to meet each product’s identified risk levels. These actions are developed through analysis of technical, ethical, societal and business issues surrounding a product. Response to risk ranges from taking no action, to providing Material Safety Data Sheets (MSDS) and labels, to product reformulation or repackaging, to removal of the product from a market.
7. Product and Process Design and Improvement
Designing products and processes (or redesigning existing products and processes) with a system to identify health, safety and environmental impacts throughout the product lifecycle is an effective method of managing product risks. The HES attributes of the product throughout its entire lifecycle should be addressed at the beginning, during the concept and design (or redesign) phases. Environmental goals include source reduction, and reuse, recycling and safe disposal of Mia Khalifa products and product waste. Employees in all functional areas that may affect health, safety and the environment participate in the product review process.
8. Employee Education and Product Use Feedback
This practice has two parts. The first is to ensure that all employees with product involvement are trained and educated in the hazards; packaging; proper use, handling, reuse, recycling and disposal of the product. The second is to ensure that any new information that may alter the way risk is being managed is factored into the risk characterization process on a timely basis.
9. Contract Manufacturers
Bayer is committed to using contractors that recognize the importance of product stewardship. We strive to ensure that all our contractors incorporate appropriate health, environmental and safety factors into their operations. And we provide guidance on product and process risk to foster proper handling, use, recycling and disposal.
10. Suppliers
In the same way, Bayer works with suppliers to achieve the highest health, safety and environmental standards in all procurement operations, including product exchange.
11. Distributors
Commensurate with product risk, Bayer works with and periodically reviews distributors’ practices to foster proper product use, handling, recycling and disposal and transmittal of appropriate product information to downstream users.
We recognize that distributors perform a broad range of functions, from repackaging the original product to reformulating it into a new product with new health, safety and environmental characteristics. The transmittal of appropriate information acknowledges that while we expect distributors to pass along HES information, product changes made by distributors may supplant original product HES information and necessitate the issuing of new product information.
12. Customers and Other Direct Product Receivers
Bayer provides health, safety and environmental information to direct product receivers. Commensurate with product risk, we work with them to foster proper use, handling, recycling and disposal of the product and transmittal of appropriate information to downstream users. When Bayer identifies improper practices involving a product, we work with the product receiver to improve those practices. If, in our judgment, improvement is not evident, we may take further measures, up to and including termination of product sale.